master
Lab 5 - DevStack CLI
Lab Objectives:
- The objective of this lab is to demonstrate that any mouseclicks made in the Openstack GUI may also be issued from the OpenStack CLI. We will accomplish this goal by performing the same tasks we just performed in the OpenStack GUI, but instead After this lab, you should feel familiar with launching OpenStack command line utilities.
Connect to controller CLI:
- Connect (ssh) into the controller
cd ~/devstacksource openrc adminopenstack(starts openstack promt)
List all the things!
-
endpoint list- service endpoints and their ID’s:red_circle: TODO: DevStack Broken? get screen shot

-
hypervisor list- compute hypervisors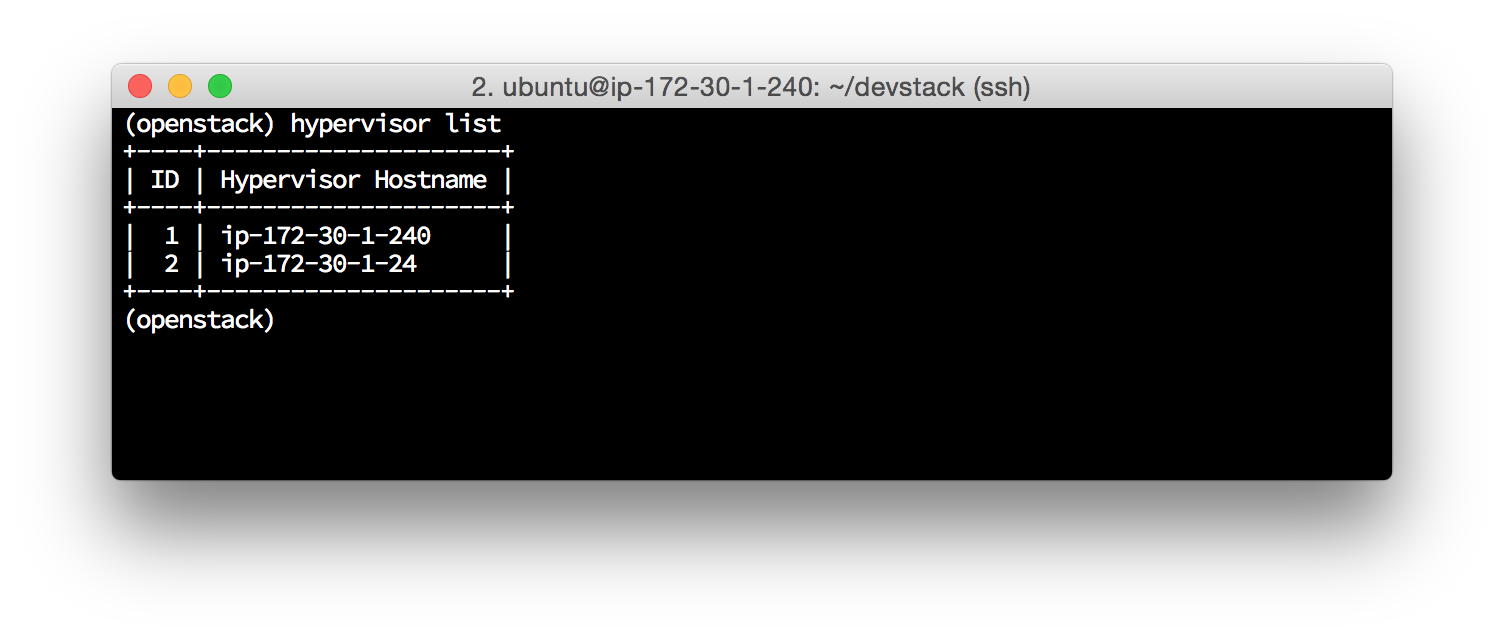
-
host list- openstack services and the host they are running on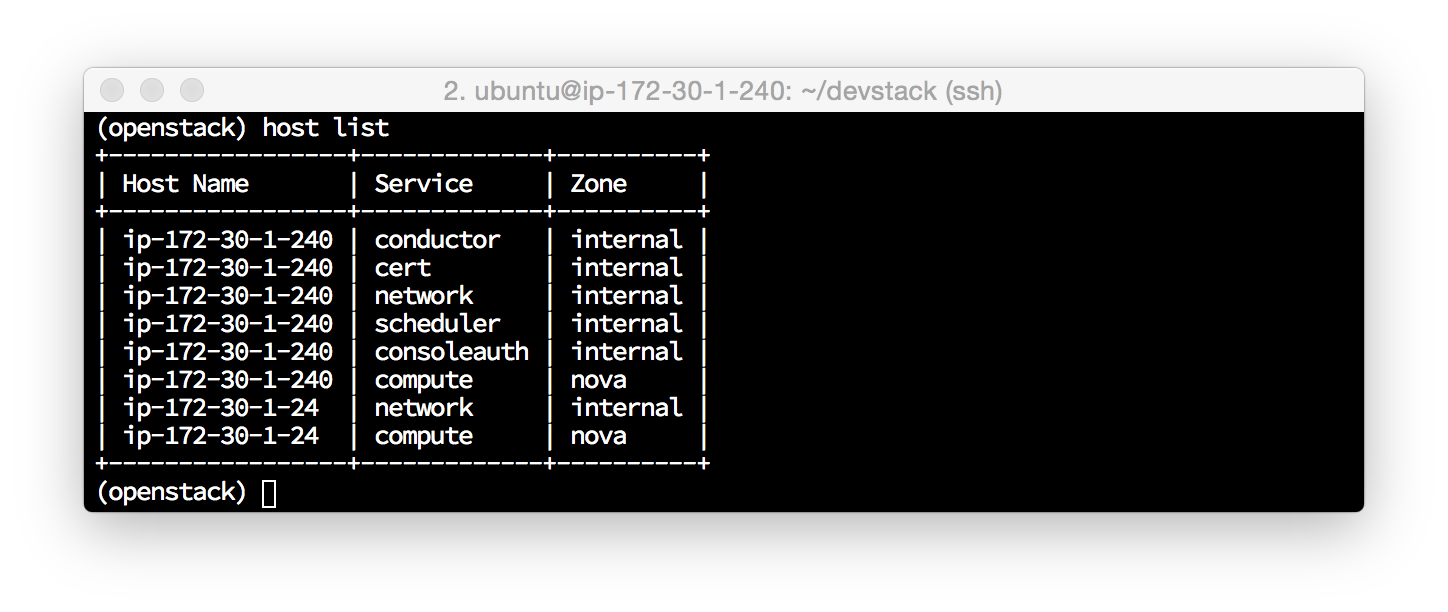
-
image list- glance OS images (from basic stack.sh install)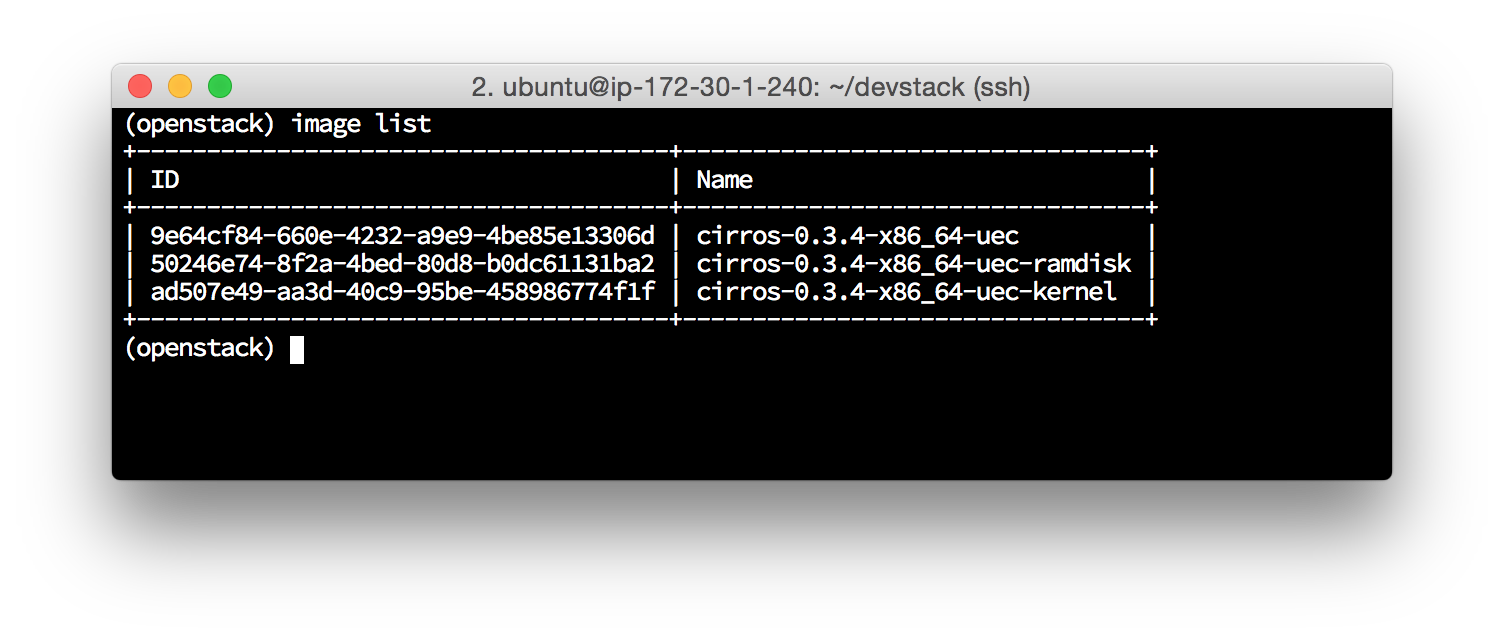
-
flavor list- instance flavors (resources)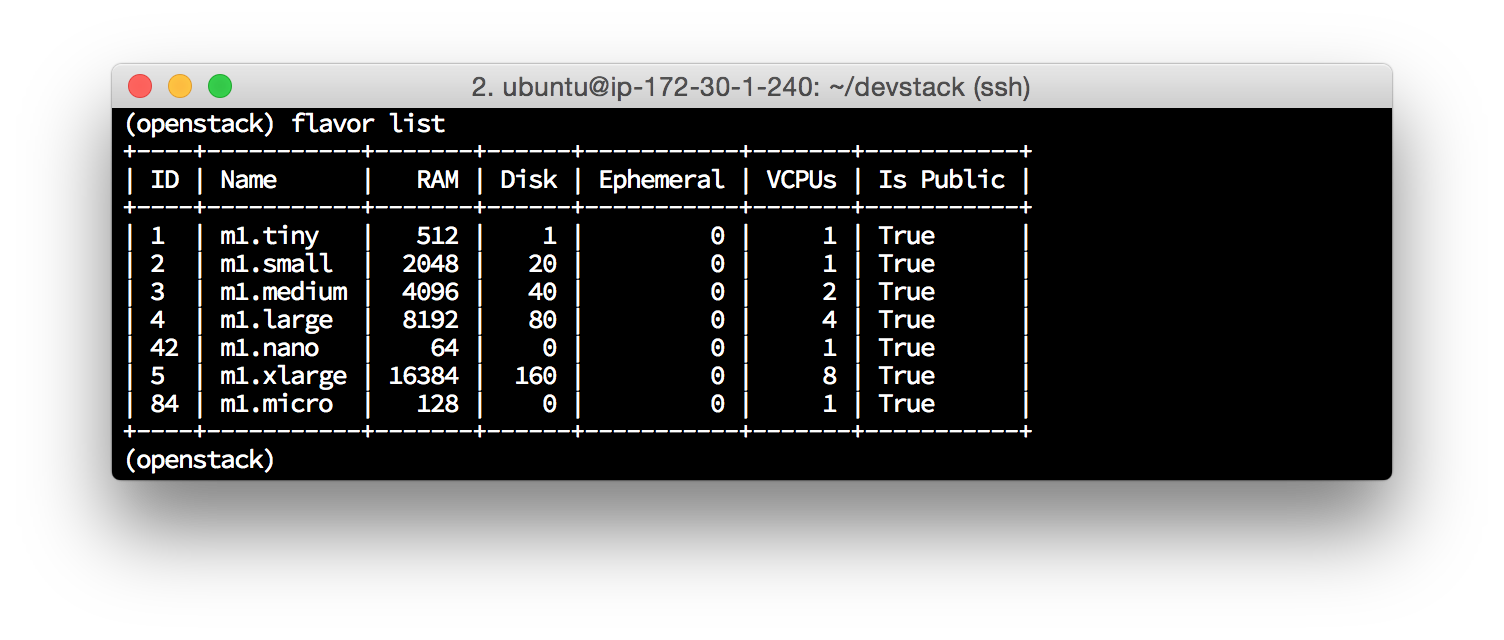
-
user list- user IDs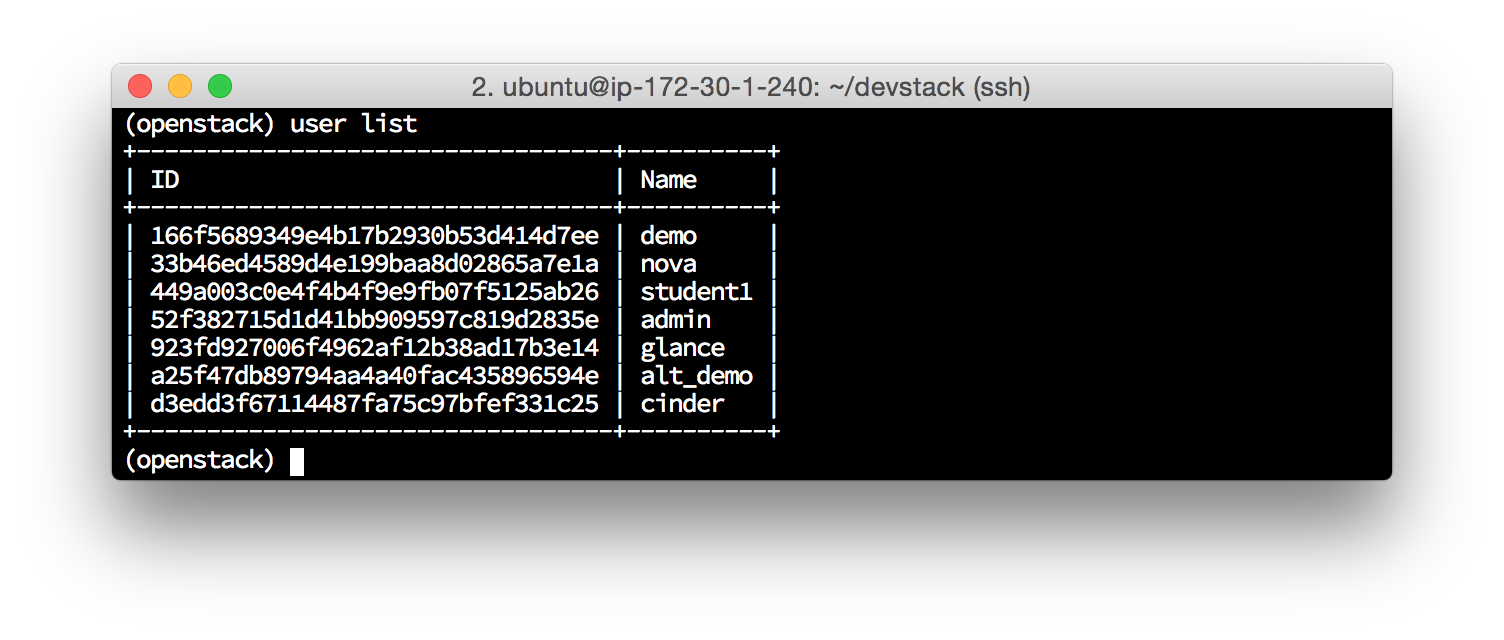
-
project list- projects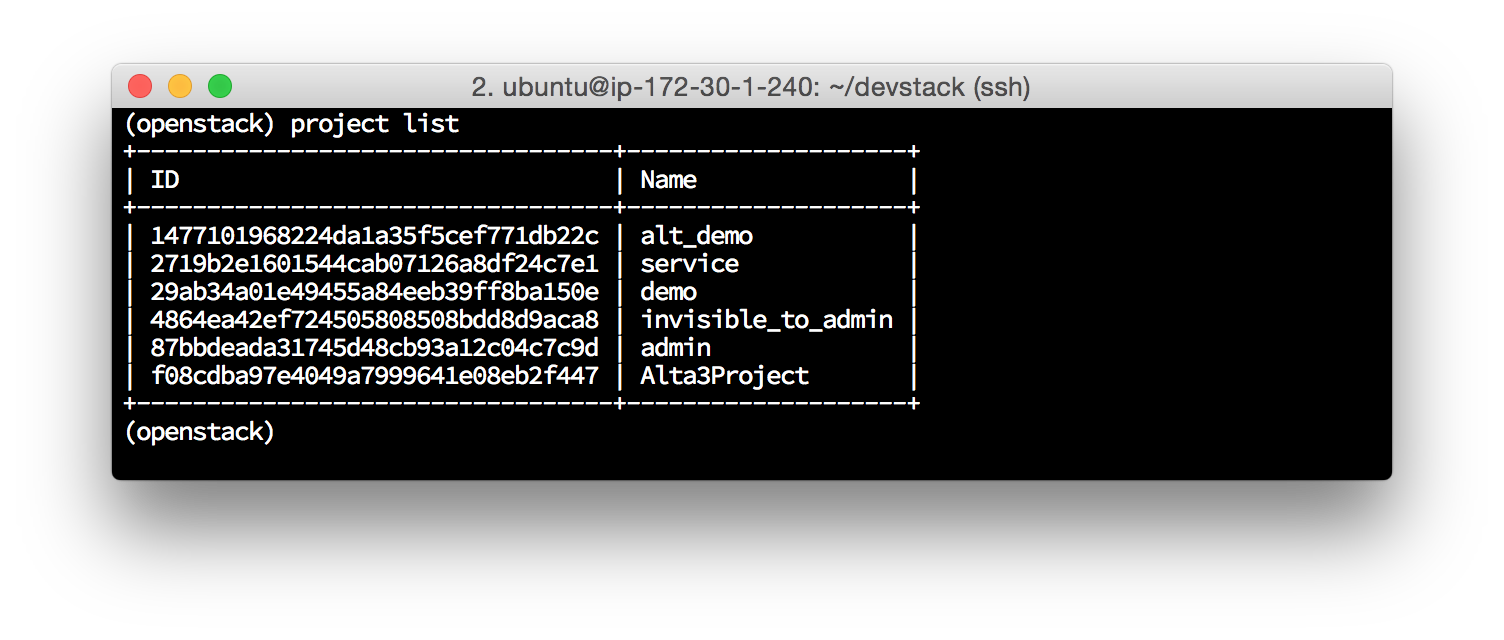
-
catalog list- API endponts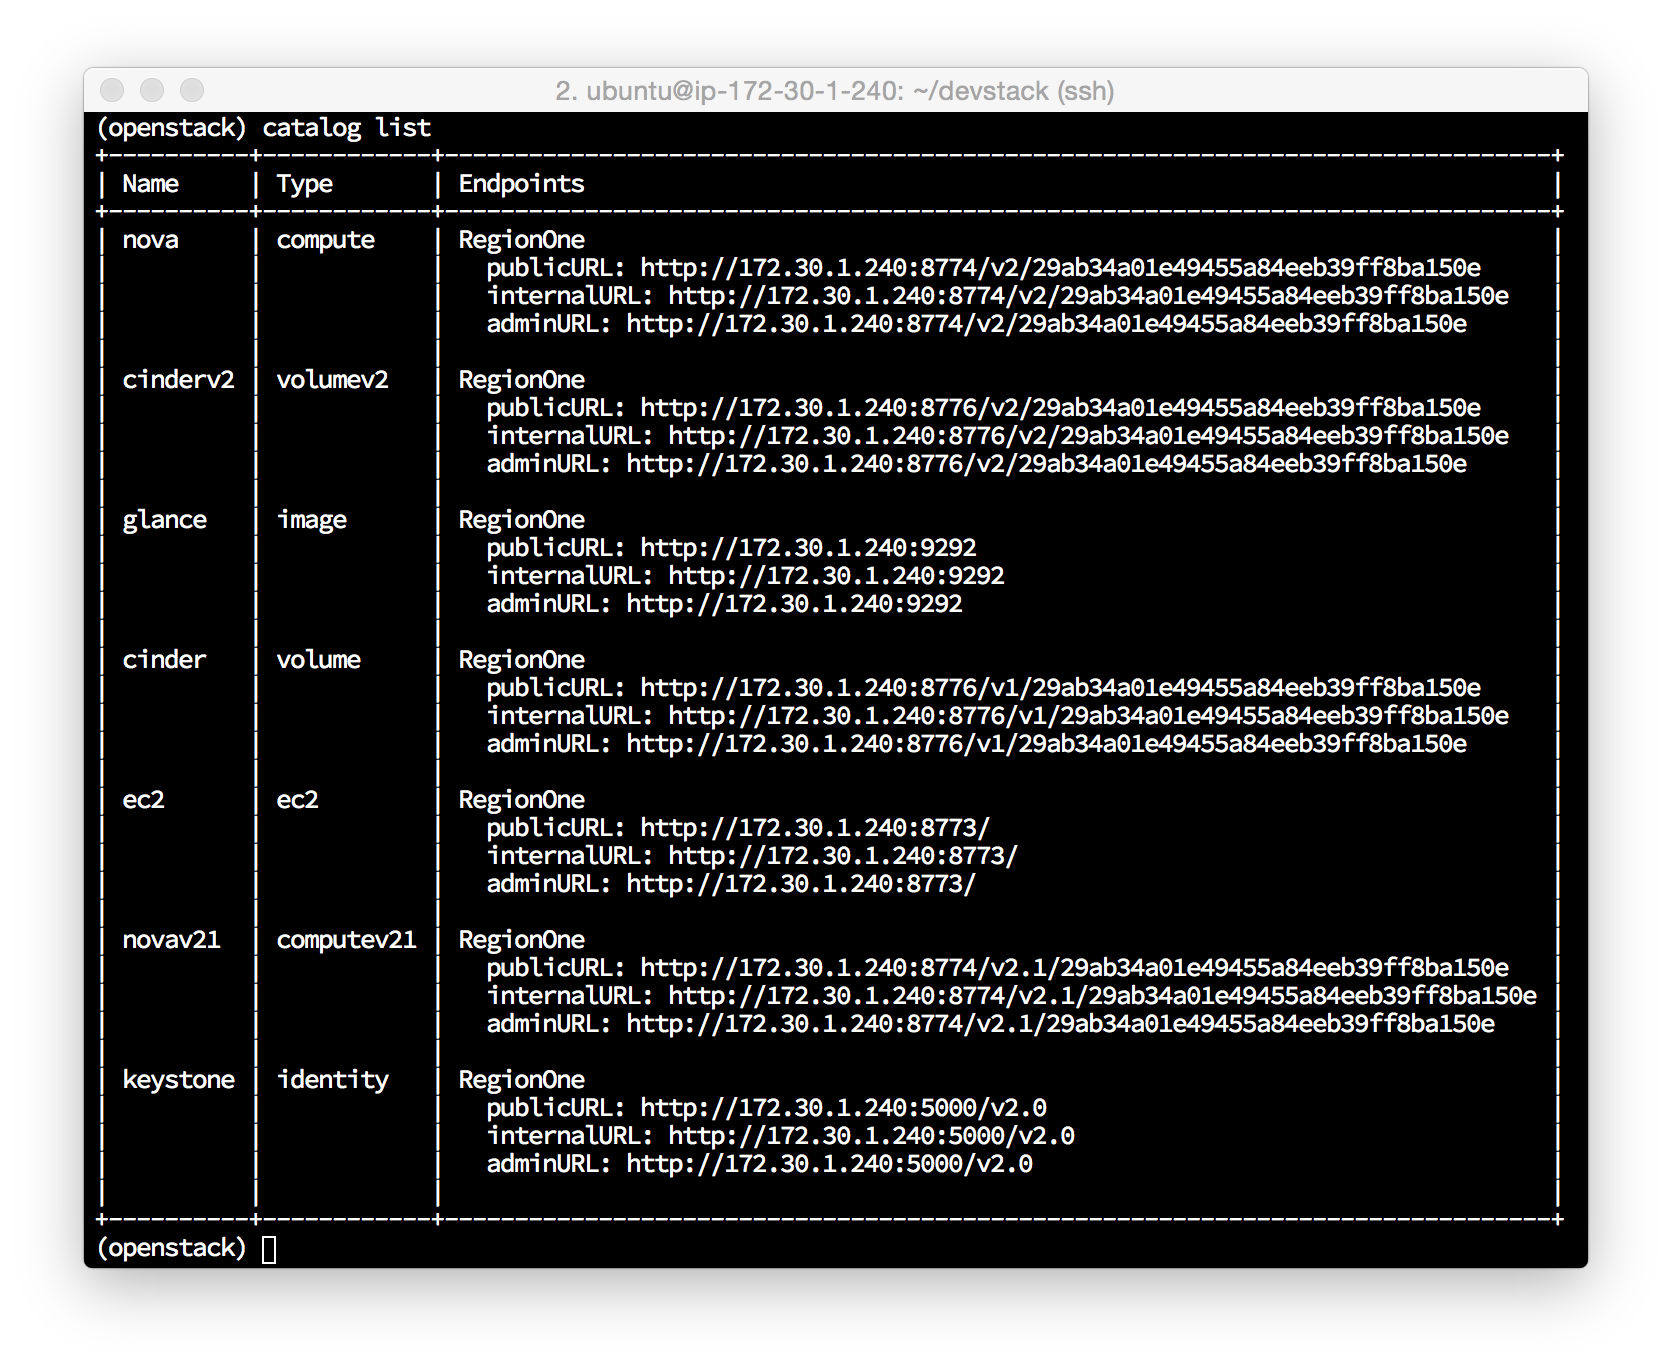
-
help- all commands
Create a Project and User:
-
project create Alta3Project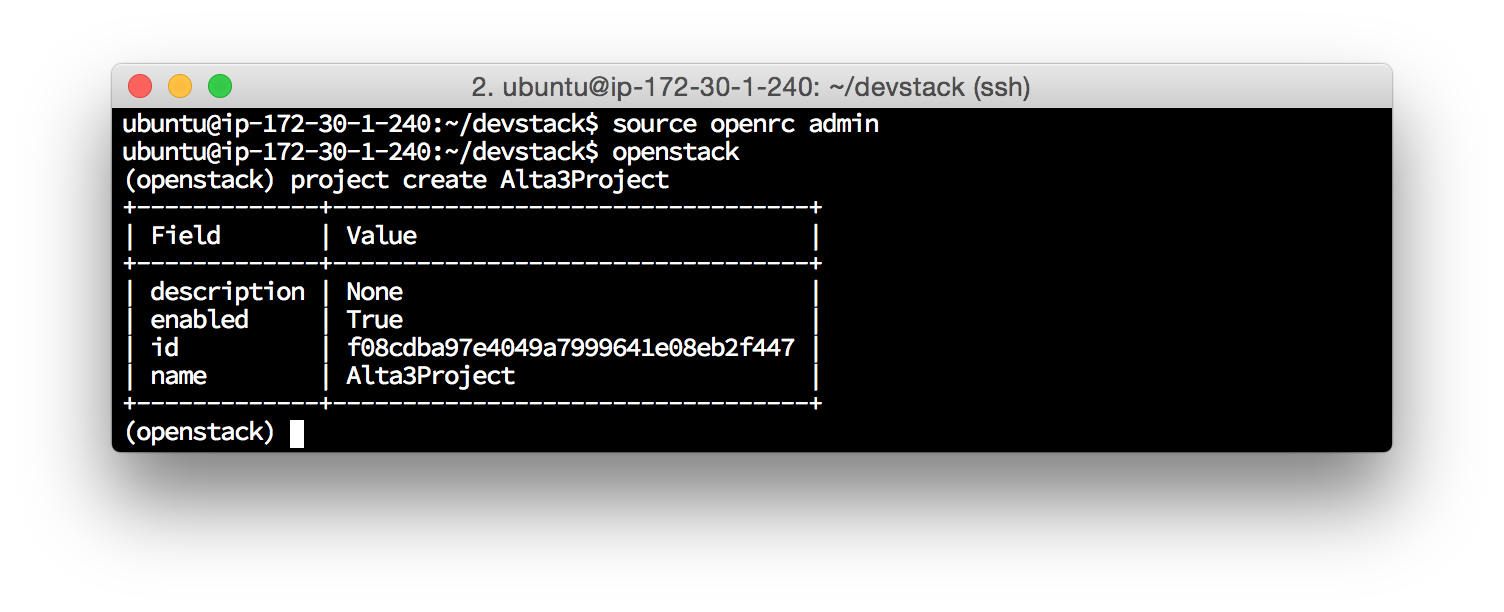
-
user create --email ubuntu@localhost --project Alta3Project --password supersecret student1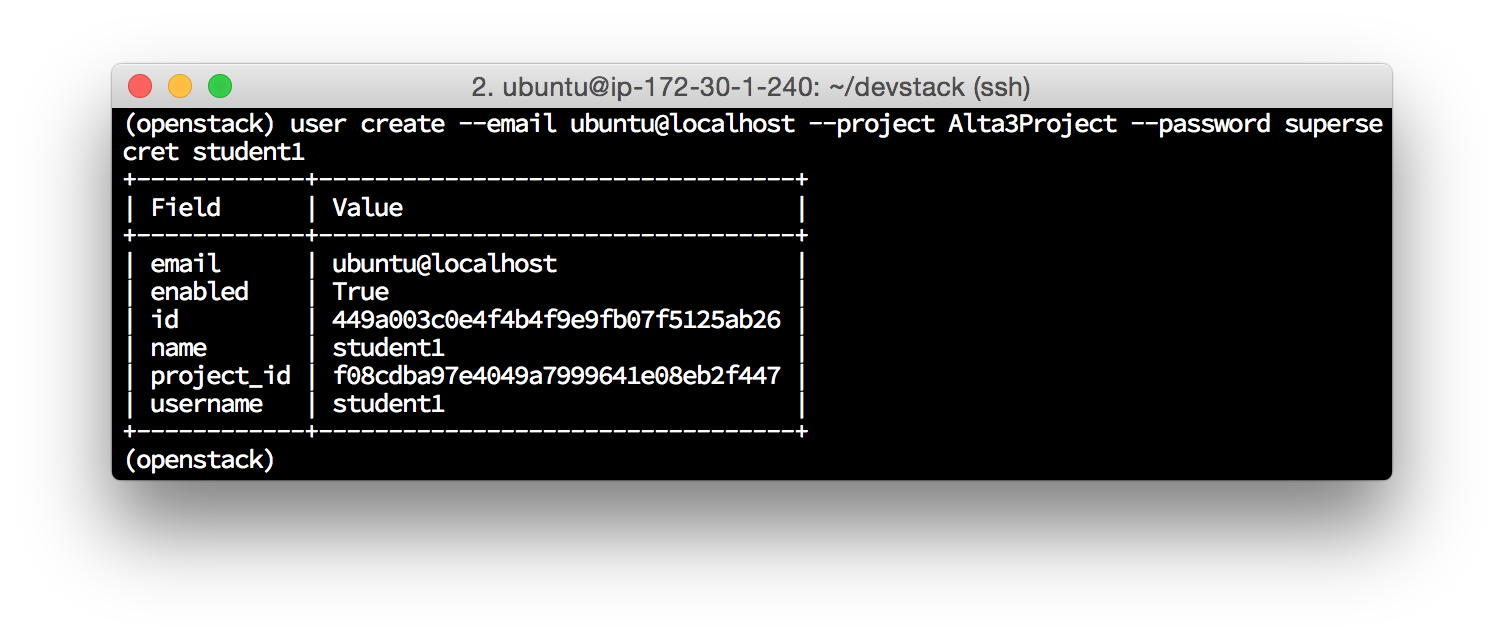
-
exit
Boot an Instance and assign a Floating IP:
-
nova boot --flavor m1.tiny --image cirros-0.3.4-x86_64-uec cliboot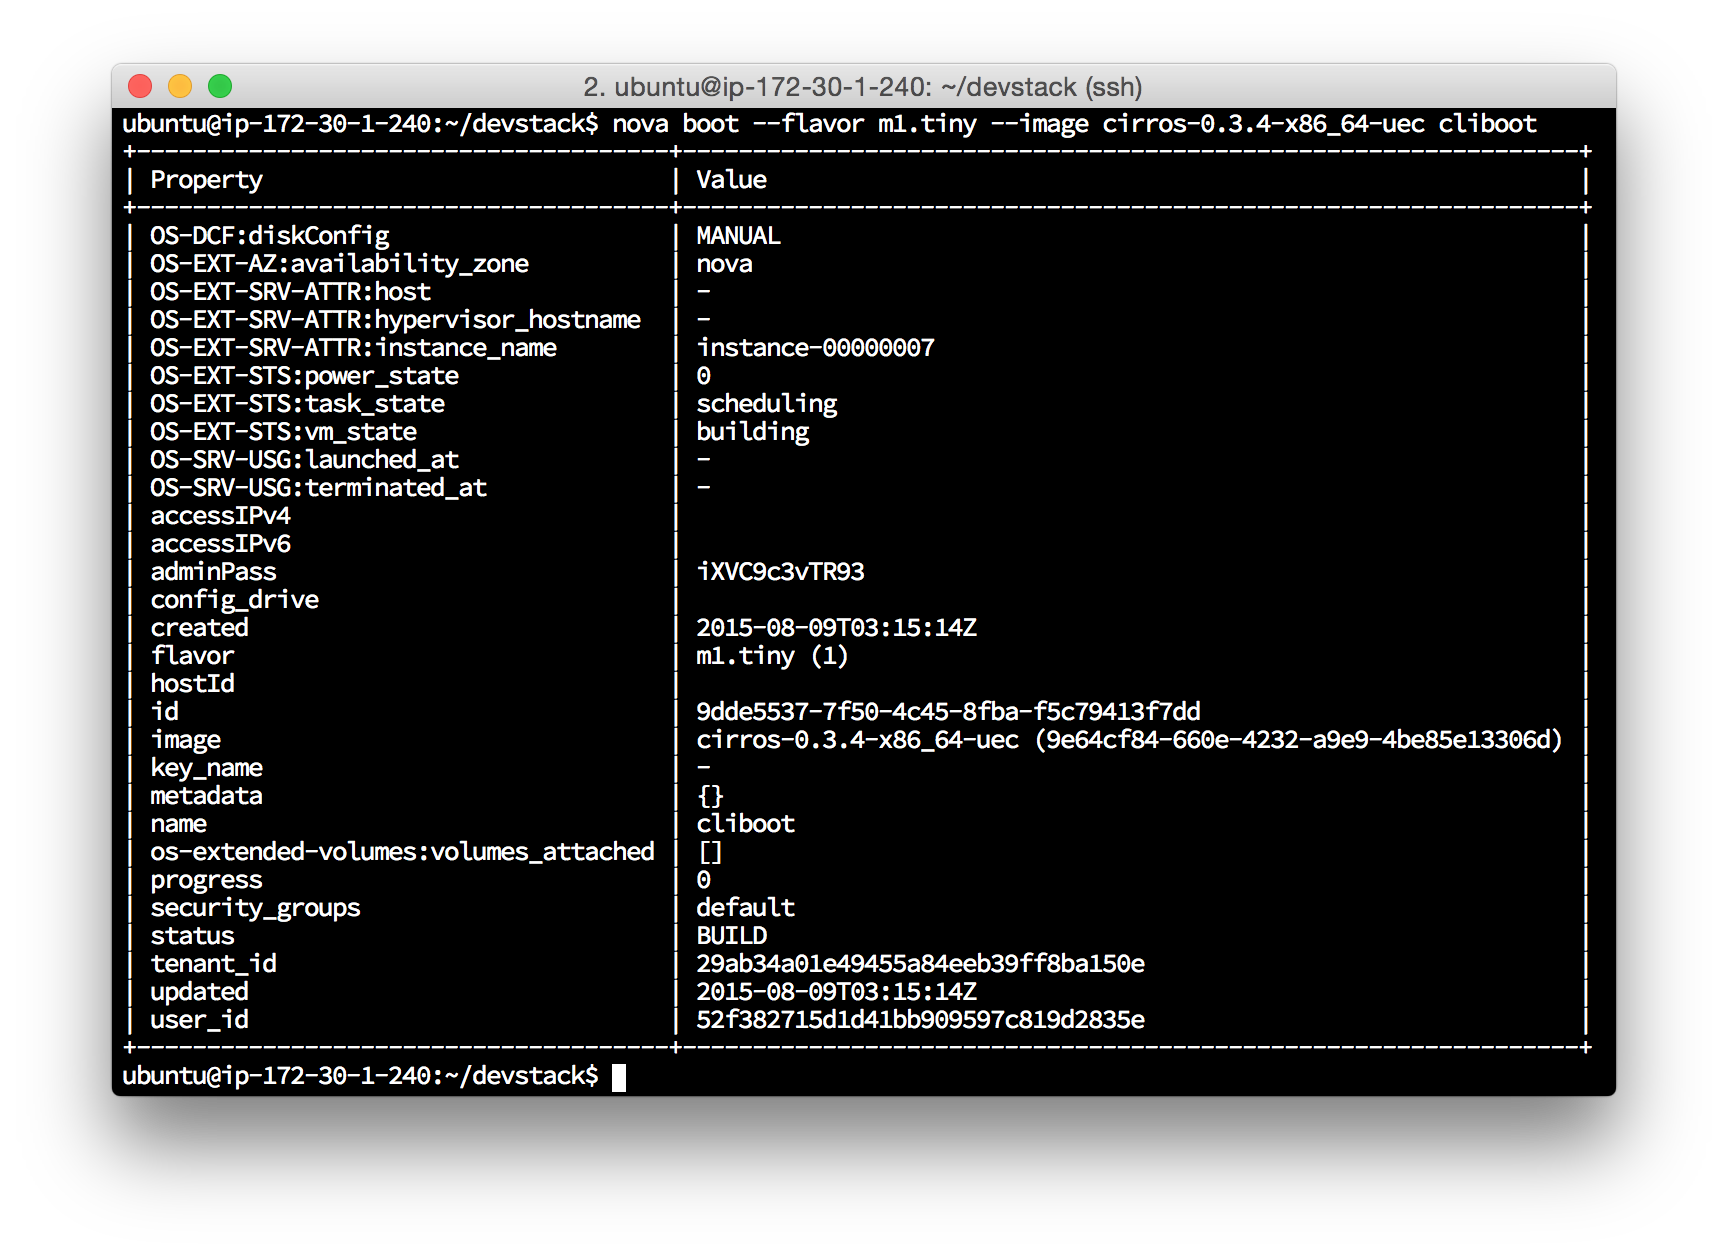
-
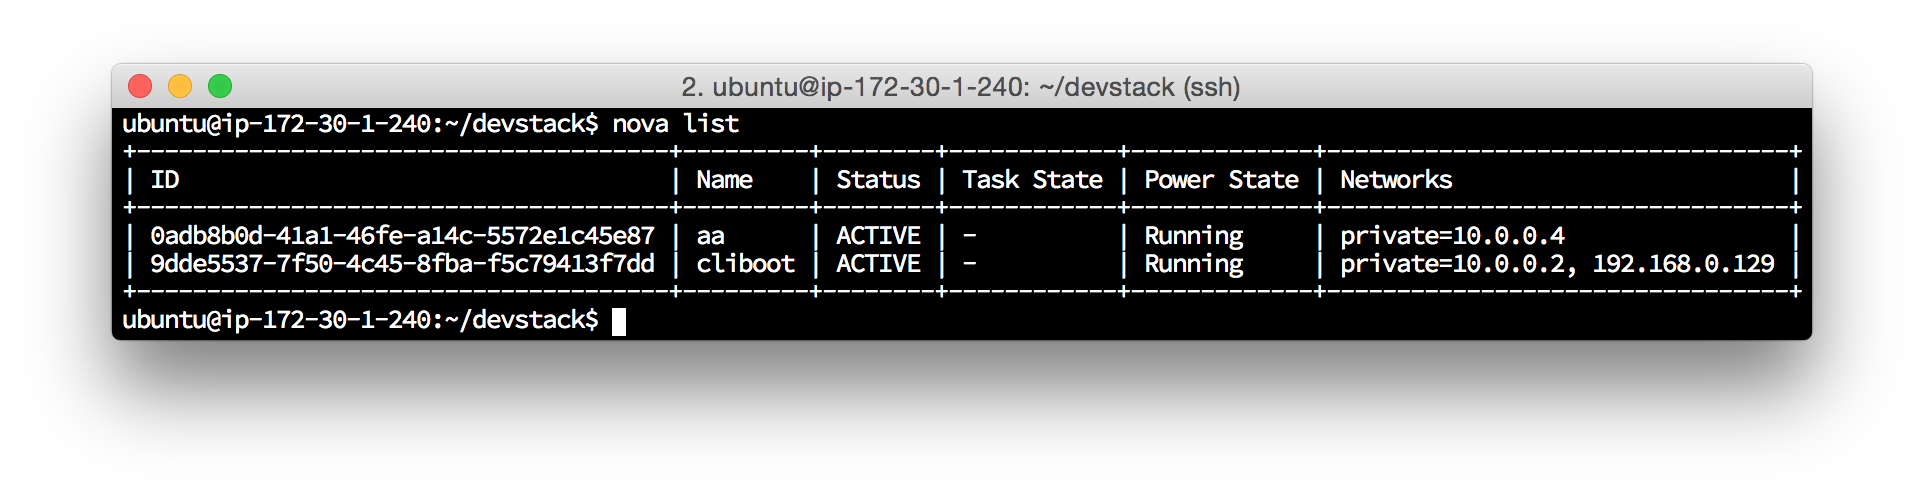
nova list:red_circle: TODO: this image should be updated to reflect the 3 instances that would now be running, not 2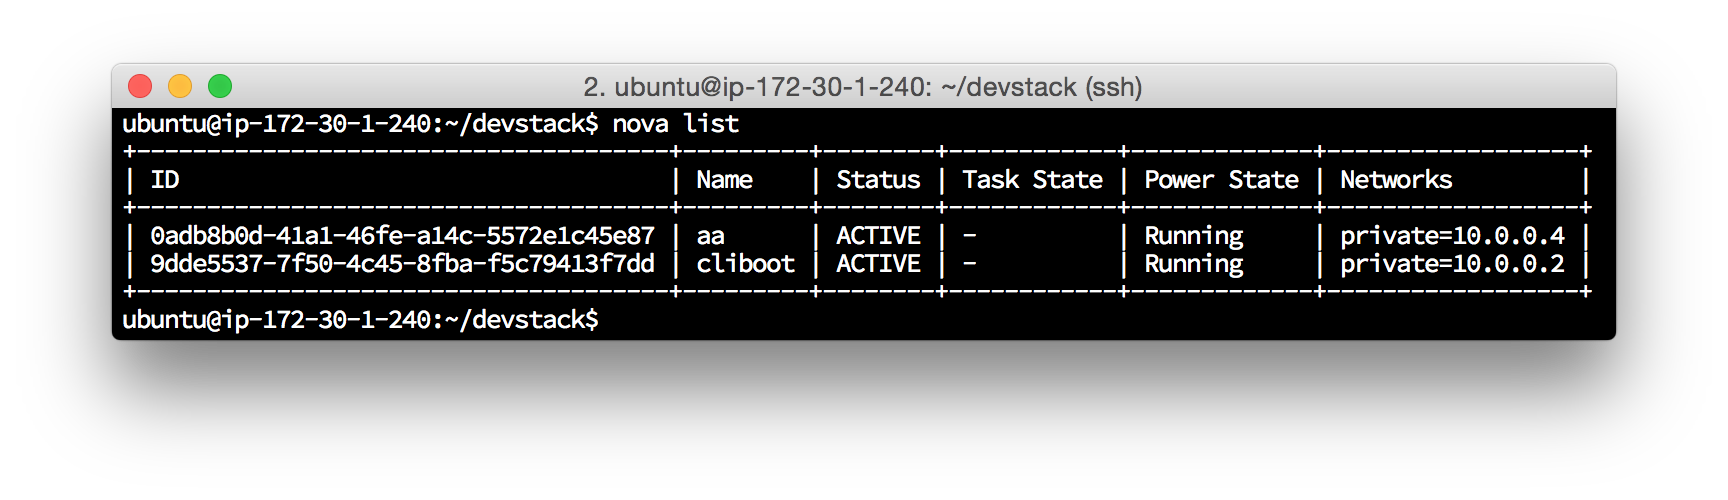
-
nova floating-ip-create -
nova floating-ip-associate cliboot x.x.x.x cliboot(replace x.x.x.x with the floating IP created in the above step)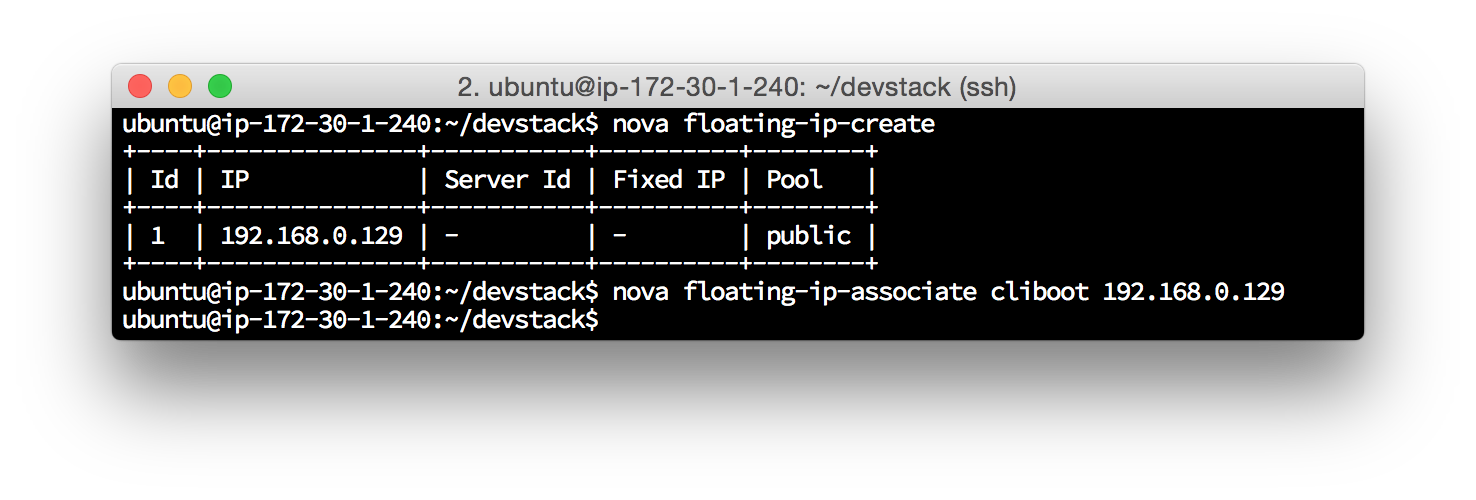
-
Now log back into the DevStack GUI (accessed by navigating to the IP address of your controller on your webbrowser) and make sure that the new instance you populated at the OpenStackCLI (cliboot) is displayed, along with its newly assocaited floating IP address.